Lots of fun for the whole family and gives the children a well needed break from screen time.
The Easter holidays are not long off, but with limited places you can go, you will need a list to keep your little ones occupied during this half term break. We would like to help you and give you an egg-stra special Easter activity that is perfect for the kids this Easter break.
What you will need:
1 Easter egg of any size
1 Chocolate bar for melting and sticking OR 1 tube of chocolate icing
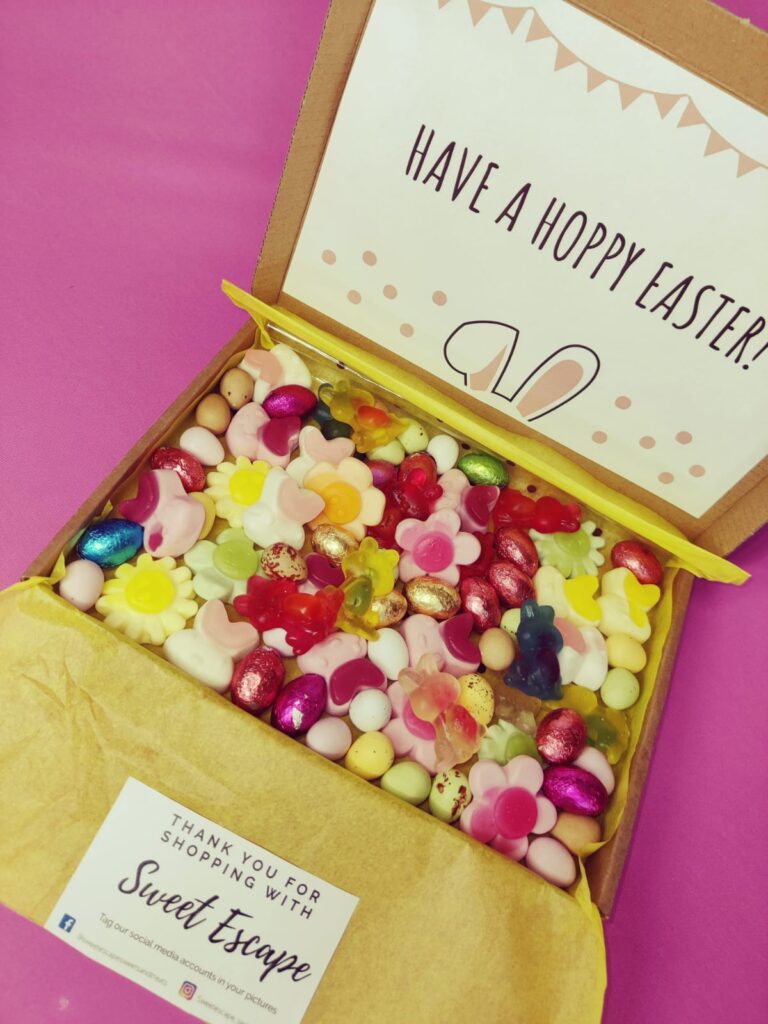
100g of your favourite SWEETIES!!!
1 small paint brush or a teaspoon (for assisting with sticking)
Our printable egg template for designing
Coloured pens, pencils or crayons
Step 1- Choose your sweets
Look at your sweet selection and decide what sweets you’re going to use to customise your chocolate Easter egg. Need a hand? Check out our special Easter themed box of sweets and treats. After you have chosen your sweets, separate them in a bowl.
Step 2 – Make your original design
With your coloured pencils and crayons, carefully start sketching out your pattern and design on your Easter egg worksheet, not forgetting to make it pretty with lots of colours and also drawing your selected sweets.
Step 3- Select your Easter egg
Select your favourite Easter egg. We have gone for Cadbury’s, but you can use any brand you want or make your own Easter shell. Carefully split your egg in half down the middle, following the line as a guide, and place them face down on a clean surface.
Step 4- Preparation
Get your chocolate bar and break it up into pieces, placing them in a microwavable bowl. Place the bowl in the microwave for 30 seconds at a time whilst mixing in-between. Continue this method until the chocolate is melted.
Step 5- Lets get sticking
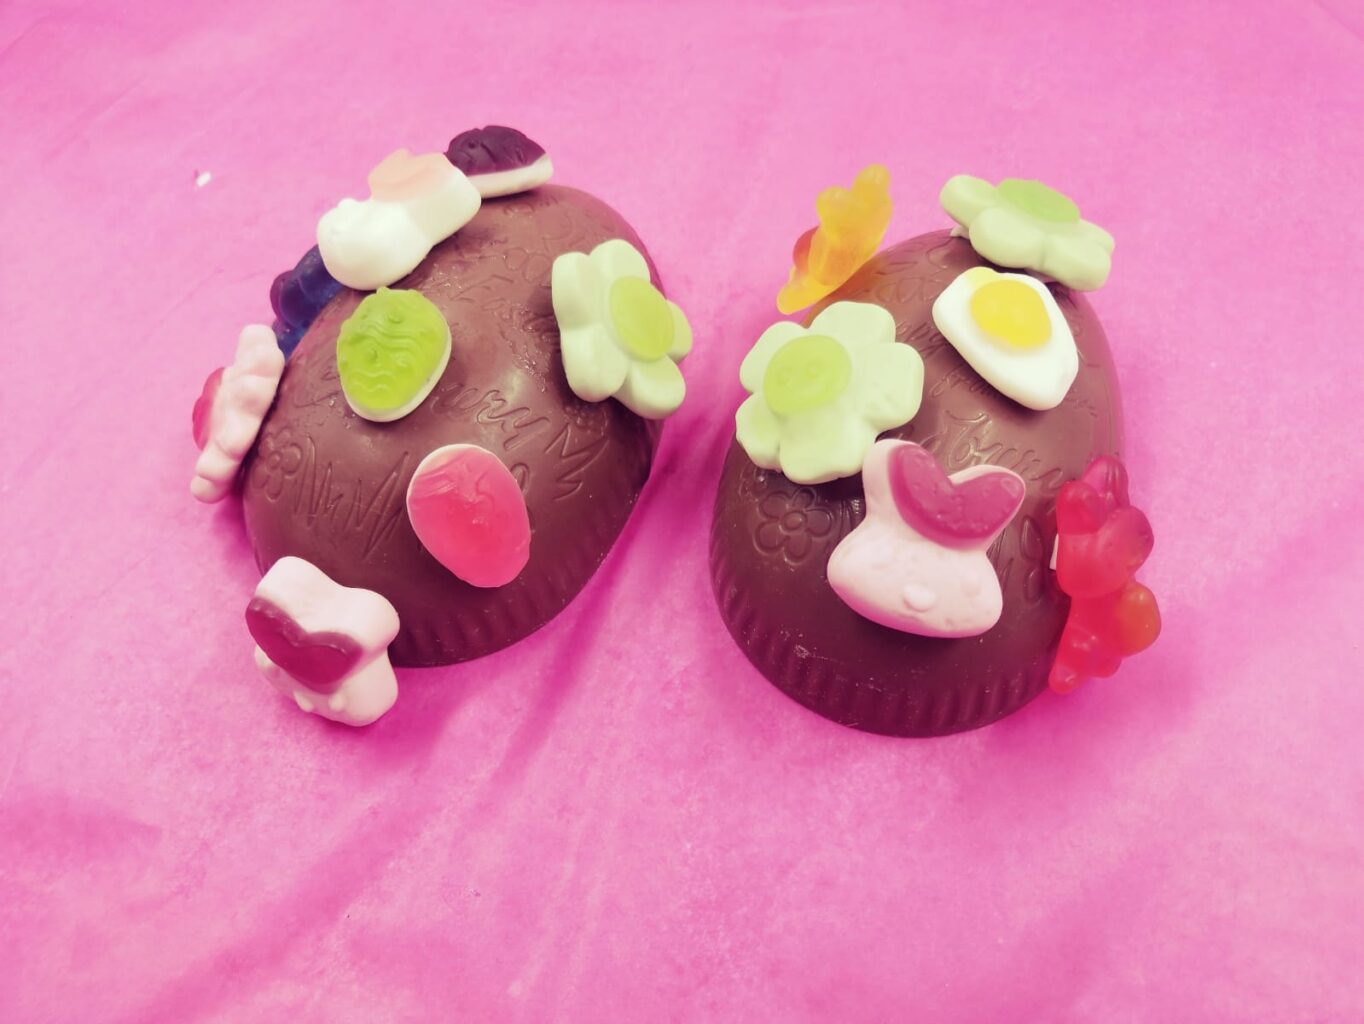
Get the bowl with your selected sweets next to your egg. Also, have your easter egg worksheet close by so you can use it as a guide. Using your melted chocolate and the back of a teaspoon or tube of icing, make a blob on the back of your chosen sweet and then go ahead and carefully stick it on your Easter egg. Do this same process until your easter egg is looking as pretty as your Easter egg worksheet.
Step 6 – Be patient
When you’re happy with your design, leave to dry in a cool place for about 30-40 minutes and eat any leftover pick and mix you may have in the meantime.
Step 7 – Put it together
Get the remaining melted chocolate and with a paint brush, carefully spread it on the edges of your chocolate egg shells. Put them together following the original matching lines. Let it dry for another 20 minutes and your customised Easter Egg will be ready! You can wrap it up with cellophane paper or put it in a nice box.
Step 8 – Share your design
Take a photo of your creation and tag us on Facebook and Instagram, so we can feature your own easter egg in our gallery.
Step 9 – Enjoy!!
Eat your Easter creation or, better yet, gift it to a loved one. We are sure it will make their day!